
Thursday, January 10, 2013
Time For A Pretty Update
Time to finally make some decorative changes to the blog. More fun posts to come concerning recent craftiness!

Monday, August 20, 2012
A Little Nook.......
A while back we started on a project for my Mini-Belle and it is FINALLY finished!. She has two closets in her bedroom here at the Triple P and one of them was really not functional. It was behind her bedroom door so to open the closet door, her bedroom door had to be closed. She doesn't need two closets so it just turned into a giant junk drawer! We decided to make a special place for her to read and dream and just "hide out". Here is what we came up with...  |
| Here is the "before" of the extra closet. Just one high clothes rod and a shelf on top. |
 |
| Here is my Sexyman building the frame for the seat. |
 |
| This is after he installed the frame for the seat. I took the plywood and topped it with some really thick foam and wrapped it in fabric then staple gunned it to the plywood. We had some leftover bead board from our kitchen backsplash so we painted it pink and nailed it to the frame of the seat to cover the open area in front of the door. |
 |
| Here is a better look at the frame inside the closet. The seat is not attached to the frame in any way so we can just lift it up and access the new storage we just created! |
 |
| Here is the seat with the plaid fabric I covered it with. I would say the entire seat is about the size of a crib mattress. |
 |
| We decided to add some color to the book nook. There was already a large board around the closet where the shelf sat. We left that portion white and painted the bottom a hot pink and the top a lighter pink. TA- DA!!! |
 |
| Here it is! We removed the door and hung a tension rod. My mom made a curtain out of some cute pink fabric. |
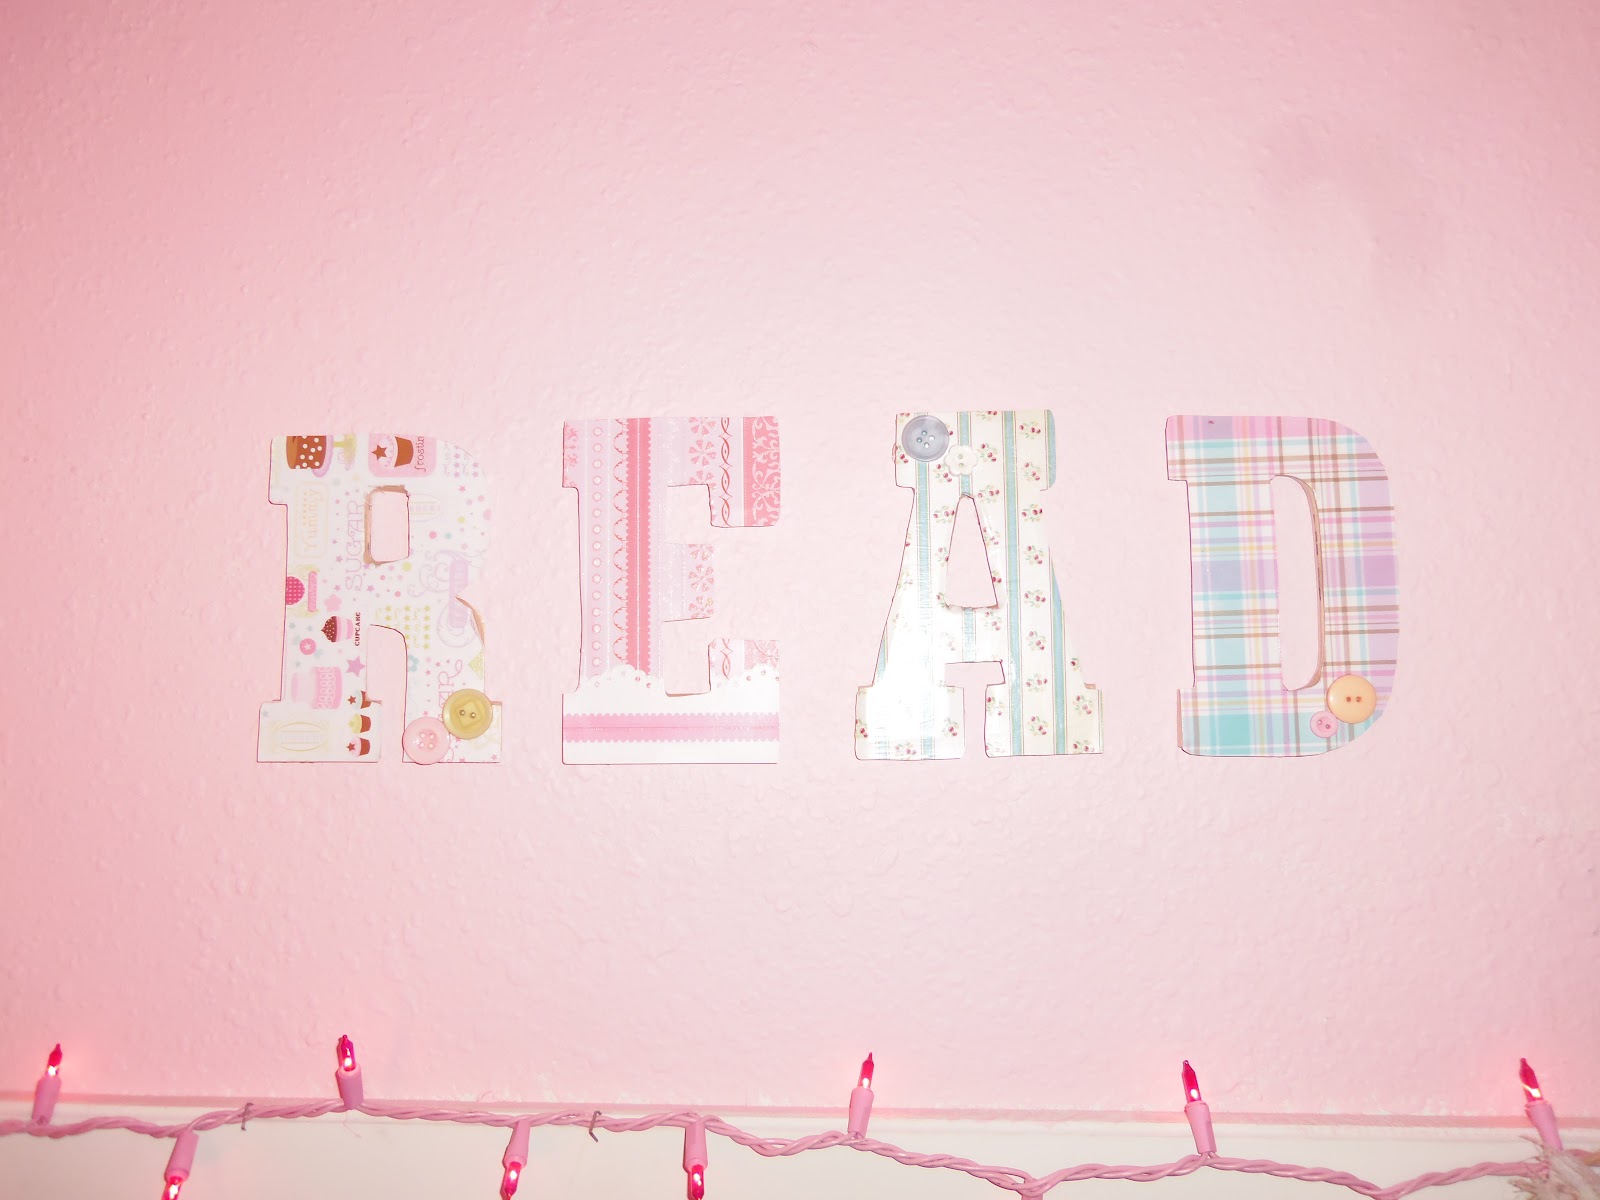 |
| I bought chip board letters and covered them in scrapbook paper and added some buttons for embellishments. I also got some pink Christmas lights from my BFF and we hung them inside. |
 |
| My Sexyman put up a small board as a shelf and we added a clip on light. The cord goes down the side of the wall and connects to a an extension cord (the Christmas lights are also plugged into that same extension cord) and my Sexyman was able to run it under the carpet to plug it into an outlet in her bedroom.. |
 |
| I also cut out some triangles from cardboard and made a cute banner! I covered the cardboard in scrapbook paper and added buttons, ribbon and lace as embellishments. I then hung each one onto a string of twine with baby clothes pins. I was also able to hang her lapdesk on her wall so she can sit in her little nook and write or draw. |
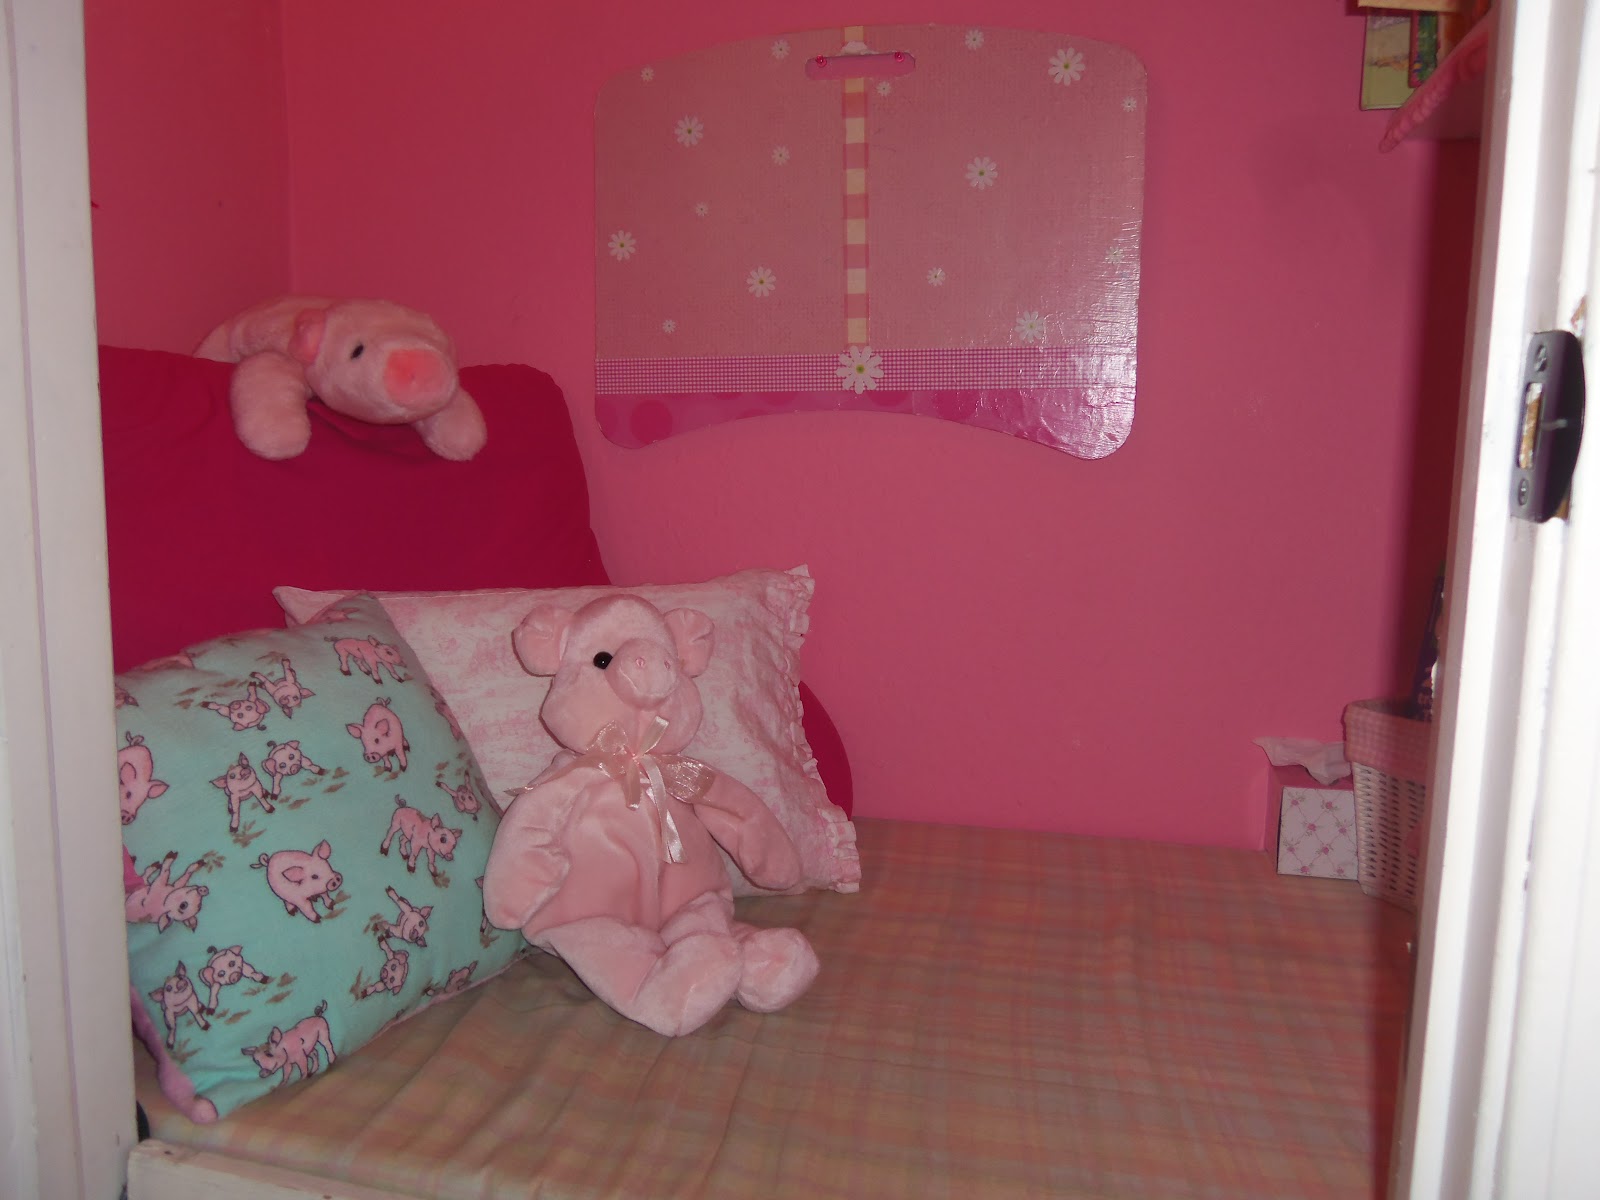 |
| A view inside. She has a pink arm pillow and a few other small pillows and some of her pig collection. |

 |
| The other end of her nook. A blanket to cover up with, a kleenex box and a basket of magazines. |
 |
| Just above the basket of magazines, we hung shelves for all of her books! |
 |
| A view of the shelves from outside the nook. So far, she LOVES her little nook! She has even taken her DVD player inside and watched her "I Love Lucy" DVDs. She has taken naps in there and read to her little brother. It is a much better use of space then the junkie closet. Hope this inspires you to pretty up an unused closet of your own! I am linking up to the Met Monday Linky Party at www.betweennapsontheporch.net |

Sunday, April 29, 2012
Front Patty-Ooohhh!
Well, I have a fabulous front patio makeover I want to share but alas, I managed to upload all of my pics BACKWARDS with all the "After" pics listed first and the "Before" pics last. If you can get past this slight mishap, I feel you will enjoy my simple...and CHEAP...front patio makeover of The Triple P! Please note that a few pics have a little "spook" making her way through the yard. That would be Sissy Dianne Parnell, my weenie dog side-kick for the last 13 years.
Here is the final "After". We painted the trim, framed out the windows and updated some decor we already had. We spent $ on the pretty red flowers in the hanging basket we already had and we bought the Jack Daniels whiskey barrel at Atwoods on sale for $24. We spent a little $ on the soil and sweet potato vine we planted inside of it. The flowers and the black windmill in the side flower bed were leftover from last fall. Our mild winter made for light work in our flower bed this spring! Finally, the large star on the front of the house was something a friend gave me and it used to be red. I was going to hang it in my son's room but after a coat of black paint, it only made sense to hang it on the front of our little plantation! Proceed for the rest of the juicy details!

Here are the previously unframed windows. The new frames were made using simple 1x4 pieces of wood. My Sexyman just cut them, painted them and hung them with masonry screws. We saw a pic in a "Country Sampler" magazine of windows given a more country or primitive feel by letting the top board in the frame hang over the side wood. We liked it in the magazine and we like it on our house!

This is the only pic I have of what the window looked like pre-framing.

When I bought these barn stars about 8 years ago, they were a deep red. After hanging on the patio for so long and being rained on and beat by the sun, they were really faded.
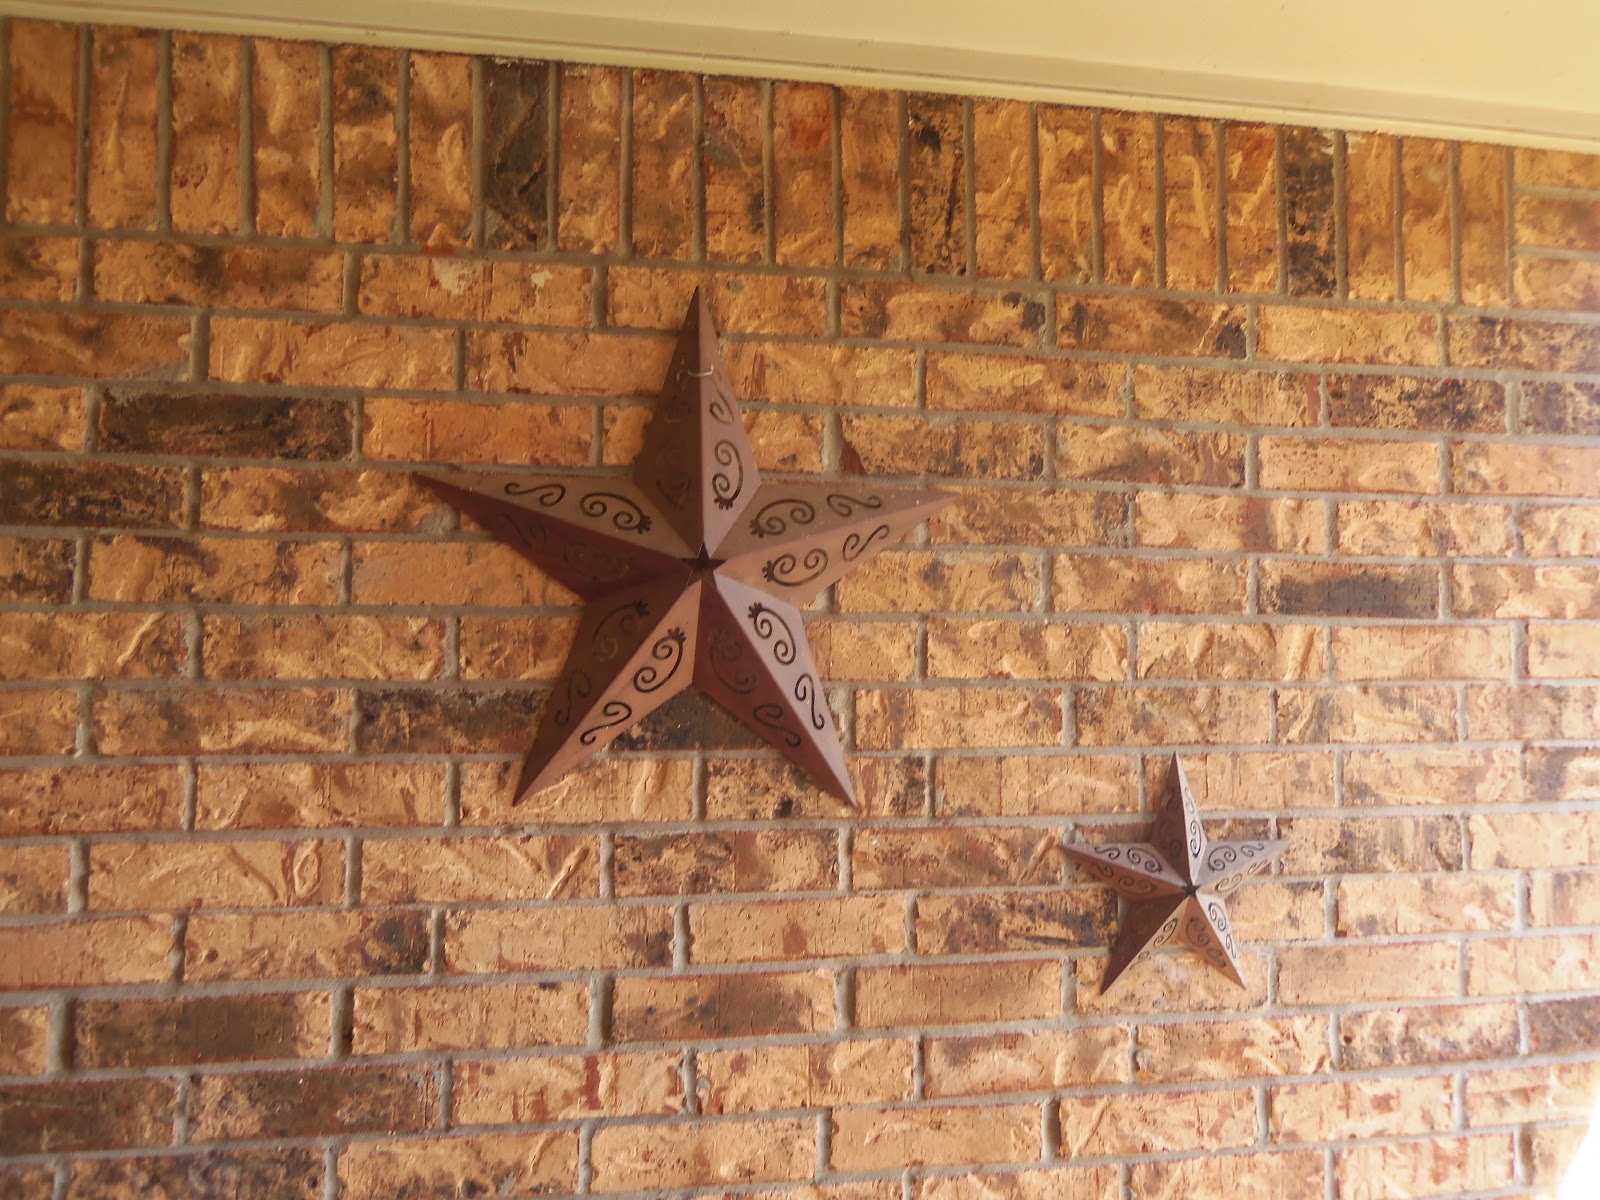
I used a can of black spray paint I already had in our garage to give them a fresh look. Wow! they look brand new and this part of the makeover was F-R-E-E!

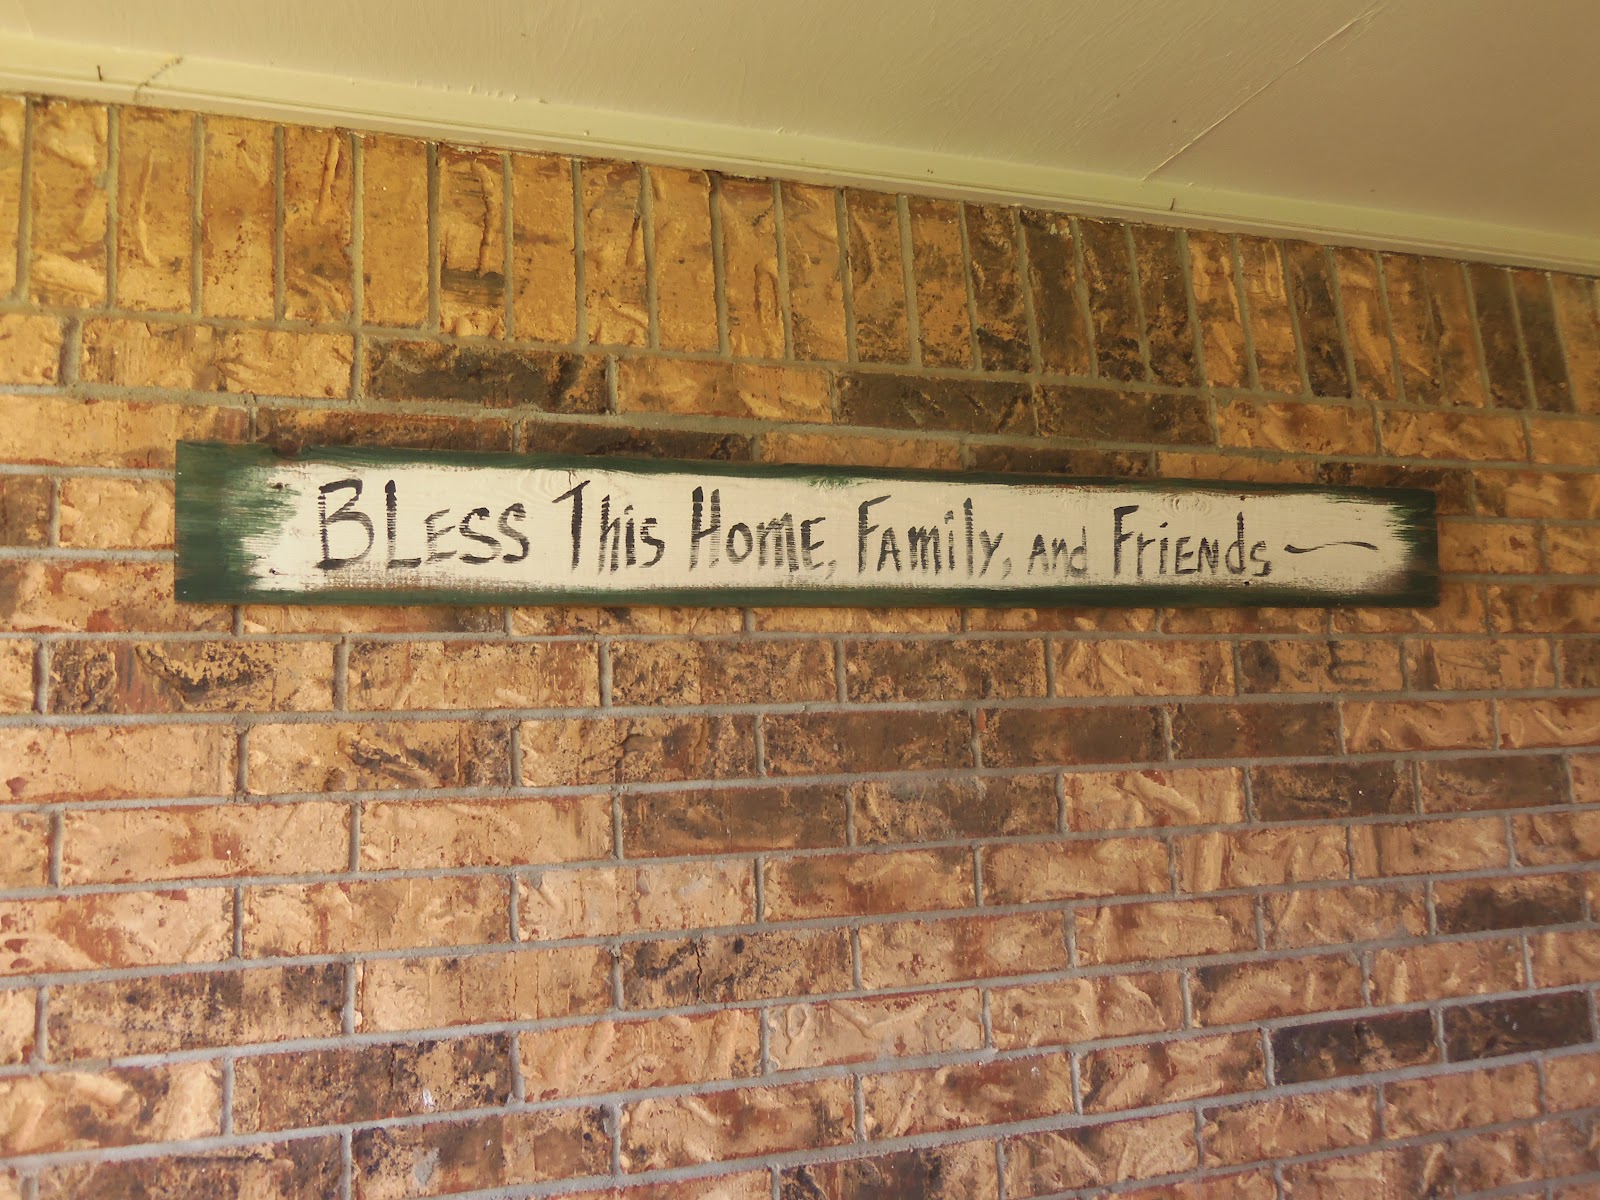
This is another F-R-E-E upgrade! This sign was already hanging on the patio so I took it down, spray painted it with the same black spray paint and made a stencil with my Cricut and then hand painted the words using white acrylic paint I already had! I think the font and the saying go great with our "cowboy" theme. Plus...it is true...JESUS LOVES Y'ALL!

Here is a pic of the old sign.
This cool pillow I made for the bench for freakin' free, y'all!!! I cut out two pieces of foam I had left over from another project; I put a large rock between the two pieces to make it heavy enough to not blow away; I wrapped it like a piece of candy with some left over burlap from another project and hot glued it to the foam; I used some twine...yep, left over from another project...and tied the ends. before I did all that, I made another stencil with my Cricut to look sort of like a monogram of The Triple P and the year we were married. I used some leftover black acrylic paint to paint the stencil on the burlap.

This was another FREE upgrade! This sign was already hanging on our patio. I had bought this cute thing with the barn wood frame several years ago at a big craft fair we have at our state fairgrounds called "An Affair of the Heart". It was really cute until it got really faded. I taped off the frame with painters tape and spray painted it with a can of chalkboard paint I already had. I did 3 coats. After the last coat dried, I wrote a nice cowboy welcome with some white chalk!

Here is the sign before the re-do!
Here is where I spent some $$$. I bought the awesome grapevine wreath at a thrift store for $2.99. I found the black burlap at Hobby Lobby and after my 40% off coupon, it only cost me $3.60. I used it to make a bow on the wreath and made the pillow really pop by tying a little on the ends.

Here is the sad, sad, sad patio before we decided enough was enough!!!

I am linking up to Met Monday on www.betweennapsontheporch.blogspot.com
Saturday, March 24, 2012
Triple P Kay-Soe!!!
After many months of searching the internet, asking friends and thumbing through cookbooks, the proprietors of the Triple P have finally come up with the PERFECT queso recipe! We ended up combining different parts of several recipes we found but we think this is the best cheese a chip will ever meet!
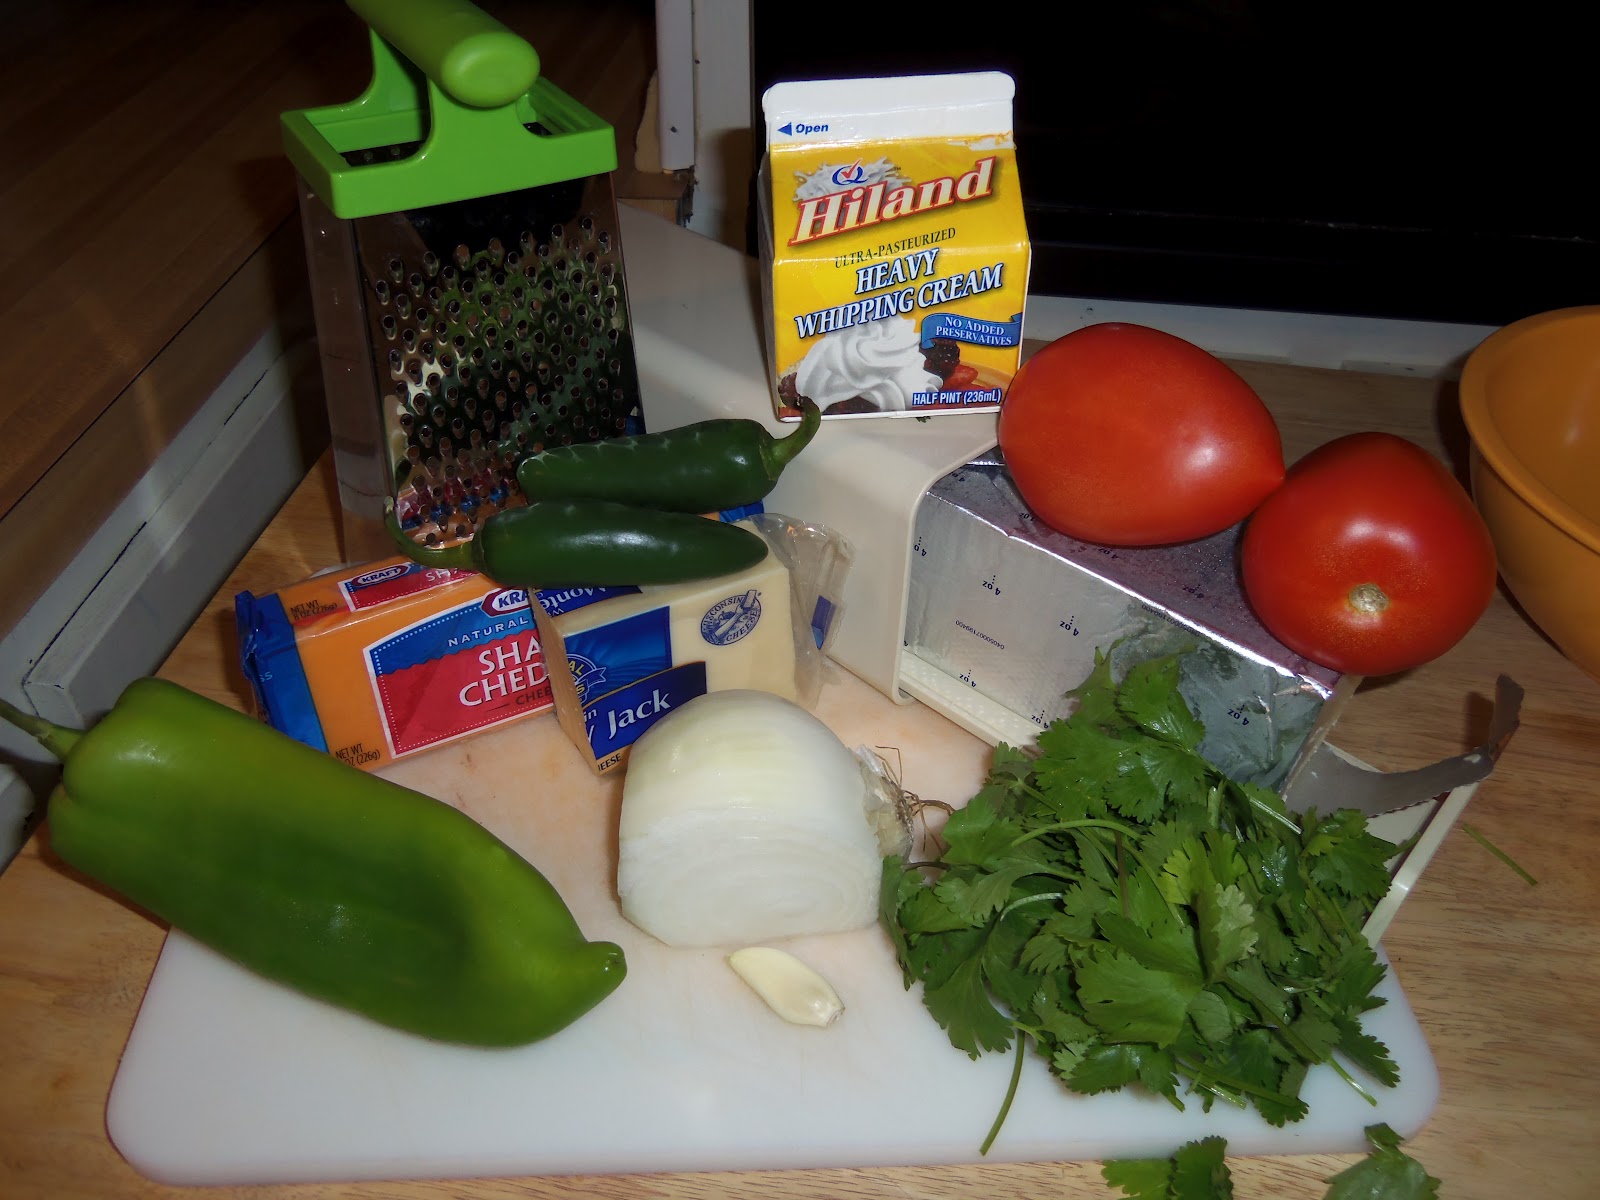
Here are the players in this beautiful production!
4 oz sharp cheddar, shredded
4 oz Monterrey jack, shredded
8 oz white velveeeeeeee-tah, cubed
1 glove garlic, minced
1/2 cup white onion, diced
1 Anaheim pepper, diced
2 hal-uh-peenoes, diced
2 Roma tomatoes, diced
Cilantro to taste
1/2 cup heavy whipping cream
About 10 years ago, a friend of mine bought me this Black and Decker mini chopper. If you don't own one, get up from the computer RIGHT NOW and go buy one. I am telling you , it will rock your kitchen's world! Anyway, throw the peppers and onion in here and you will have perfectly diced veggies.

Put about 1 Tbs. olive oil in a medium sauce pan. Saute the garlic, peppers and onions until soft.

Add the cheeses and a little of the cream and stir until all the cheese is melted.
Once the cheese is melted, add the pretty red tomatoes and the beautiful green cilantro to the dull yellow cheese sauce and you have colorful yumminess! You will need to add the rest of the cream at this point to give it that wonderful "dip" texture. I prefer my queso to be fairly runny so I like to use more cream. My Sexyman, however prefers a thicker queso so sometimes I use less to please him. He is worth it;)

Put some tortilla chips in a bowl and pour up the Triple P Kay-Soe in individual bowls and enjoy! We prefer to enjoy it on the couch with the chips between us while watching "Top Shot" or The Mentalist" or "Rocket City Rednecks" or if I am lucky...ANYTHING on the Investigate Discovery channel. But, I imagine it will taste just as good while watching whatever show you get to turn on after the children are FINALLY in bed!

Sunday, February 26, 2012
Sunday Dinner!
Well, I don't know how you do it at your house but Sunday Dinner at the Triple P is serious! We get out of church around noon and since we live just a few blocks from church, we can get home and get a jump start on this all important meal. Everyone races in the door, takes off their Sunday best and changes into "comfy clothes". We are usually sitting down to eat by around 1:00 but this particular meal took a little longer...but tasted that much better! There are a few Sundays we have leftovers, we may meet my mother at a restaurant or like last Sunday, we may join some friends at a local place here in our tiny town only to see most of our congregation there, too!
But today...today was the PERFECT Sunday Dinner! We even had the Ricky Skaggs and Kentucky Thunder album, "The History of the Future" as our Sunday Dinner soundtrack! Every meal at the Triple P has music to accompany the yumminess...

We had fried chicken (my husband is the chicken fryer in our house), cracker salad, fried okra, mashed potatoes, rolls that had been rising since 8:00 this morning, cucumber and onion salad and of course, sweet tea!

I know you want to lick your computer screen right now...

Oh, and did I mention strawberry shortcake for dessert?
Wednesday, December 14, 2011
Sweet Tea...sweet nectar from heaven!
Truly, the only beverage that is a necessity for me is sweet tea. My momma made it daily when I was a child and it went with EVERY meal...even PB&Js at lunch time! I even remember my younger brothers having sweet tea in their bottles. My cousin, Martine makes great sweet tea which I am sure she learned from her mother who is actually the one who taught my own momma the secrets to the perfect pitcher! There are only a handful of places that make sweet tea to my standards. Cracker Barrel has an almost perfect ratio of sugar to tea and Chick-fil-a makes a mean sweet tea, as well. Then there is the ultimate sweet tea to which I aspire. It is found at a BBQ joint in Decatur, Alabama called "Big Bob Gibson's". When my family and I travel to Alabama from here in Oklahoma to see my cousins, we make sure the trip includes at least one giant glass of their sweet tea! Now, I keep up the tradition of serving the house wine of the south here at the Triple P. I often have friends ask how I prepare it so I thought I would give a little tutorial.
First, you need to bring about 6 cups of water to a rolling boil. Once the water is boiling, add 4 FAMILY SIZE tea bags to the water and continue to boil for 1 full minute.


Once the minute is up, remove the pot from the heat and put a lid on it. Keep it covered for a full ten minutes.


After the sugar is all good and melted, fill your pitcher with water while constantly stirring.

Now you are ready to pour your sweet nectar from heaven into one of your favorite cups as I have done. Enjoy your sweet tea, oh yes and ROLL TIDE!

Thursday, October 20, 2011
Craft Lately???
Been busy playing with my new Cricut and may have gone a little nuts with the vinyl. Had some ideas from blogland that I wanted to try. First, I gave my front door a little address treatment!

Found this pretty frame at Hobby Lobby and thought it would be great in the master bath. I put some coordinating fabric behind the glass to match our shower curtain and then did a little Cricut love with our anniversary date!

This is not a Cricut craft but one I had been waiting for the time to do. Got an unfinished wood frame from Hobby Lobby and painted it blue, I sanded it and then stained it. I used burlap for the background and then covered a chipboard "P" with buttons and hot glued it to the burlap. I really wish I would have painted the chipboard first. I wasn't thinking of how much the chipboard would actually show. I then added a tag holder found on the scrapbook aisle at Hobby Lobby and distressed a little piece of paper and wrote our last name inside. I really love this!

This is really my favorite project lately!!!! I used my Cricut to cut some black vinyl letters for the kids' bathroom. I love that the cartridge I have has a few fun images like this splash of water. It really makes the bathroom look more kid friendly!

Subscribe to:
Posts (Atom)