Monday, February 28, 2011

Hello Hutch...

Scott and I registered for china when we got married 12 years ago. I had always loved the "Old Country Roses" pattern. I never dreamed we would actually receive any as a gift! Well, we received two full place settings and had enough duplicate gifts that we were able to return them and get enough store credit to purchase two more place settings. Over the years, my mother has bought me a few more accent pieces. We had a china cabinet we kept in the living room that had always looked out of place. Dishes go in the dining room or kitchen...not by the couch! Well, my mom was given a great china hutch a few years ago from a friend. She was able to use the bottom portion but never utilized the top. After she moved this past fall, she really had no more use for the bottom so we arranged a trade! I gave her our old one and we got this one. We had been using another GREAT piece of furniture in the dining room/kitchen as a pantry area but decided we thought it would look better in our master bedroom and we L-O-V-E it in there! This means, there is now room to put our china where it belongs...in the dining room! However, this "new" hutch needed some renovation before it could be part of our family!


Here is the bottom piece before...


Here is the top portion in the garage about to be sanded...


Scott working the electric sander...


After getting painted "Cottage White" and a little sand paper distressing...


This is after being glazed with "Dark Walnut". I love how it looks so worn...


Had to give 4 of the drawer pulls a shot of black spray paint!


Spraying on the polyurethane top coat. I have decided I need to get some of the "wipe on" poly to apply to some of the detailed areas by hand...


The hutch is so happy in the house and it has actually made my china even more beautiful! I am still missing some knobs. Hobby Lobby ran out of the ones I liked so I have to try another Hobby Lobby this week.


It is like it was MEANT to be there!!!

I am linking up to Met Monday! Go see even more great "Before and After" projects!


Wednesday, February 2, 2011

I have paint & a paint brush. Am I an artist?

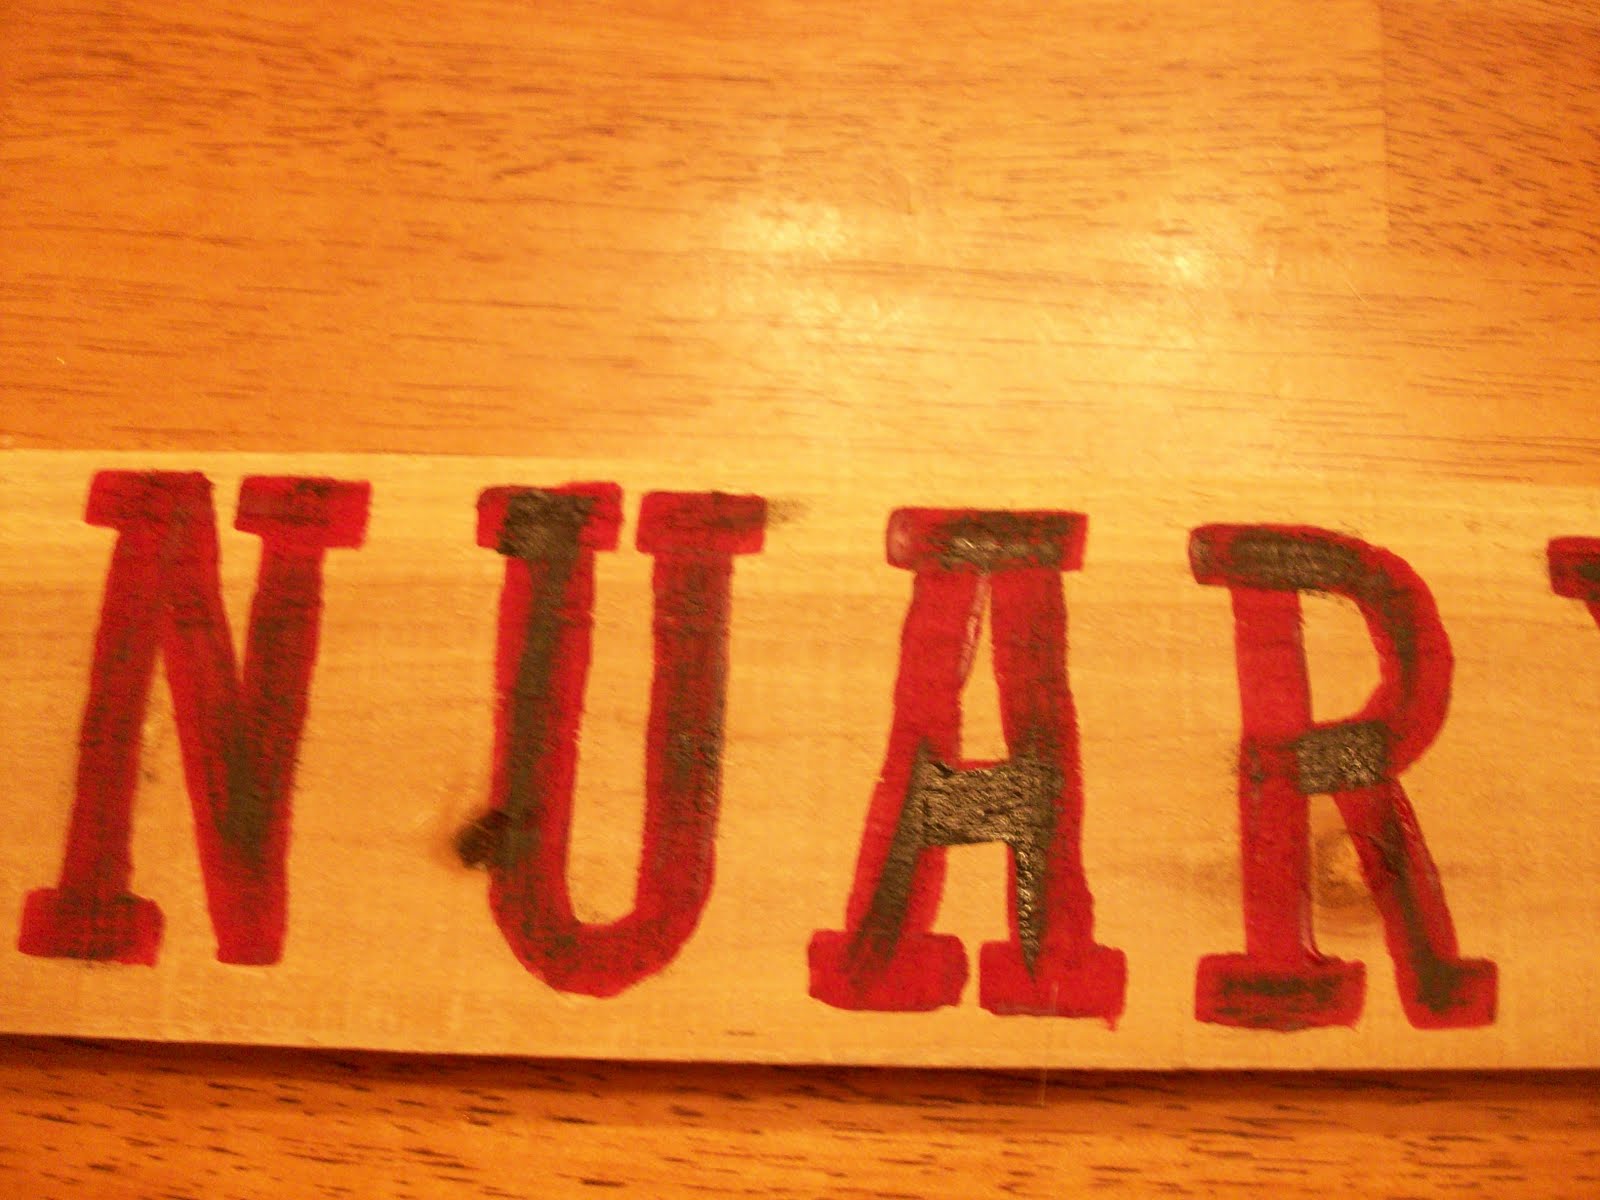
Been looking at some blogs lately that have these great "vintage" signs with great tutorials. I took some steps from separate blogs to make my own sign. This is my first one and I already have many more planned. i started off with a piece of wood I rescued from my mother's shed during her big move in September. I then made my own faux stencil using Word. I just typed out my words (our wedding date) and used Rockwell Condensed as the font and made the text size 280. I then cute out each letter and number.


Next, I spaced each character on my board and taped them on. I traced an outline of each one using a ball point pen. I used a lot of pressure so as to leave a "stencil" of each letter on the wood.

See the outline I left just by using pressure with my pen???

I used "Americana" brand acrylic paint from Hobby Lobby. This brand is only 99 cents so I love it. I am using a shade of red to match my bedroom. This is for the master suite at the Triple P. I just painted the letters using one of the many paint brushes in my combo pack of brushes I got at HL since I am not really an artist and have no idea about paint brushes or paint or wood or stencils or changing a flat tire or musical instruments or 4-wheel drive trucks or NOT burning bacon or wait a minute, where was I...


Next, I used some of the same brand of paint only in black and did some hodge podge painting over the letters to give it an older look.


Moving on to the sanding...once the paint was dry, I used a sheet of 150 sand paper and made circular motions all over the sign to distress it a bit more. Libby helped with this and she is one mean sander!


Then the staining! Used a rag to lightly stain the whole thing. I put more in some places then others and then rubbed it all around.


Now, if I can just get the husband to put some picture hangers on the back and get it on the wall!!!


Wednesday, January 12, 2011

Spending time in the "office" crafting!

Made this with a new product I am CRAZY about: Modge Podge Dimensional! It is basically just liquid epoxy you have to let dry. This charms are 50% off this week at HL so I am going to have to go back and get more because after I made this one, I thought of 10 new ones I wanted to make and ways to make them even cuter!


One of the charms I made with some scrapbook paper, sayings I printed out and the cool blank HIGH QUALITY charm I bought at Affair of the Heart in Tulsa this year. This is a two sided charm so I put different things on each side.


When you are a full time homemaker living in 1300 square feet of space, an actual "office" is not reality. My true office is the laundry room and the kitchen. Maybe I should move my college diploma in to one of those rooms? Isn't your office where those are supposed to go:) Anyway, I spend a lot of time at my dining room table. This is where I do the bank statement, help Libby with homework, make my grocery list, do the weekly bills, etc. And sometimes...I get to do some crafty stuff! My Sexyman loaded me up with some of his famous, made from scratch Hot Chocolate in my "Titanic Exhibition" mug and away I went! Here is what my "office" looked like during that time. So glad my home is my "office" and not somewhere else. I have the best job in the world and the best boss! And my co-workers aren't bad either!


Thursday, January 6, 2011

The Triple P Goes Cowboy!


Well pardner, we made a few changes out here on the range and we are countin' on you to like it as much as we do. We were needin' to make some changes to the family room at the Triple P and decided to give it a little bit of that western flair my cowboy husband loves so much. After much thinkin' and re-arrangin' and movin', we think we might have everything almost perfect. Had to take out the old couch, entertainment center and TV. Still need to get busy paintin' the walls (we've picked a nice paint color called "Biscotti") and we have to re-think our china cabinet and book case situation that no long matches. I see lots of spray paintin' in that there garage in this country girl's near future. My main cowboy even has his eye on a cowhide rug. Enjoy these here photographs of the new and improved Triple P. Happy Trails!

Monday, November 15, 2010

Adventures in Apple Butter


Do you remember the 80's movie "Baby Boom" starring Diane Keaton? Remember the beautiful farmhouse in Vermont she bought in the movie? Remember the awesome fireplace in the kitchen? Remember the cutie patootie baby girl named "Elizabeth"? Most of all, do you remember all the homemade applesauce she made and sold as "Country Baby"? Do you think it is just coincidence that I myself had a cute little country baby named Elizabeth whom we call Libby? That is one of my favorite all time movies! Scott even bought it for me on DVD after Colt Joseph was born when I was in desperate need of entertainment while nursing a newborn a couple times a night.


Let's just say I was channeling JC Wyatt (Diane Keaton's character) today while experimenting with some homemade apple butter. I made just enough to fill 3 pint jars. With a few phone calls to some expert canners and some help from my Sexyman, I was able to complete my first "canning" product! I kept one jar for us and I decorated the other two jars to give away. So, if you have never seen "Baby Boom" you are missing out on a great movie with great 80's synthesizer music. If you have never tasted apple butter, go directly to your friendly Cracker Barrel Restaurant and buy a jar! My apple butter still needs tweaking but I have the cutest jars!