Monday, February 28, 2011

New Carpet makes my 1975 House Look New!

The Cowboy's Bunkhouse


The Mini-Belle's Veranda


Hello Hutch...

Scott and I registered for china when we got married 12 years ago. I had always loved the "Old Country Roses" pattern. I never dreamed we would actually receive any as a gift! Well, we received two full place settings and had enough duplicate gifts that we were able to return them and get enough store credit to purchase two more place settings. Over the years, my mother has bought me a few more accent pieces. We had a china cabinet we kept in the living room that had always looked out of place. Dishes go in the dining room or kitchen...not by the couch! Well, my mom was given a great china hutch a few years ago from a friend. She was able to use the bottom portion but never utilized the top. After she moved this past fall, she really had no more use for the bottom so we arranged a trade! I gave her our old one and we got this one. We had been using another GREAT piece of furniture in the dining room/kitchen as a pantry area but decided we thought it would look better in our master bedroom and we L-O-V-E it in there! This means, there is now room to put our china where it belongs...in the dining room! However, this "new" hutch needed some renovation before it could be part of our family!


Here is the bottom piece before...


Here is the top portion in the garage about to be sanded...


Scott working the electric sander...


After getting painted "Cottage White" and a little sand paper distressing...


This is after being glazed with "Dark Walnut". I love how it looks so worn...


Had to give 4 of the drawer pulls a shot of black spray paint!


Spraying on the polyurethane top coat. I have decided I need to get some of the "wipe on" poly to apply to some of the detailed areas by hand...


The hutch is so happy in the house and it has actually made my china even more beautiful! I am still missing some knobs. Hobby Lobby ran out of the ones I liked so I have to try another Hobby Lobby this week.


It is like it was MEANT to be there!!!

I am linking up to Met Monday! Go see even more great "Before and After" projects!


Wednesday, February 2, 2011

I have paint & a paint brush. Am I an artist?

Been looking at some blogs lately that have these great "vintage" signs with great tutorials. I took some steps from separate blogs to make my own sign. This is my first one and I already have many more planned. i started off with a piece of wood I rescued from my mother's shed during her big move in September. I then made my own faux stencil using Word. I just typed out my words (our wedding date) and used Rockwell Condensed as the font and made the text size 280. I then cute out each letter and number.


Next, I spaced each character on my board and taped them on. I traced an outline of each one using a ball point pen. I used a lot of pressure so as to leave a "stencil" of each letter on the wood.

See the outline I left just by using pressure with my pen???

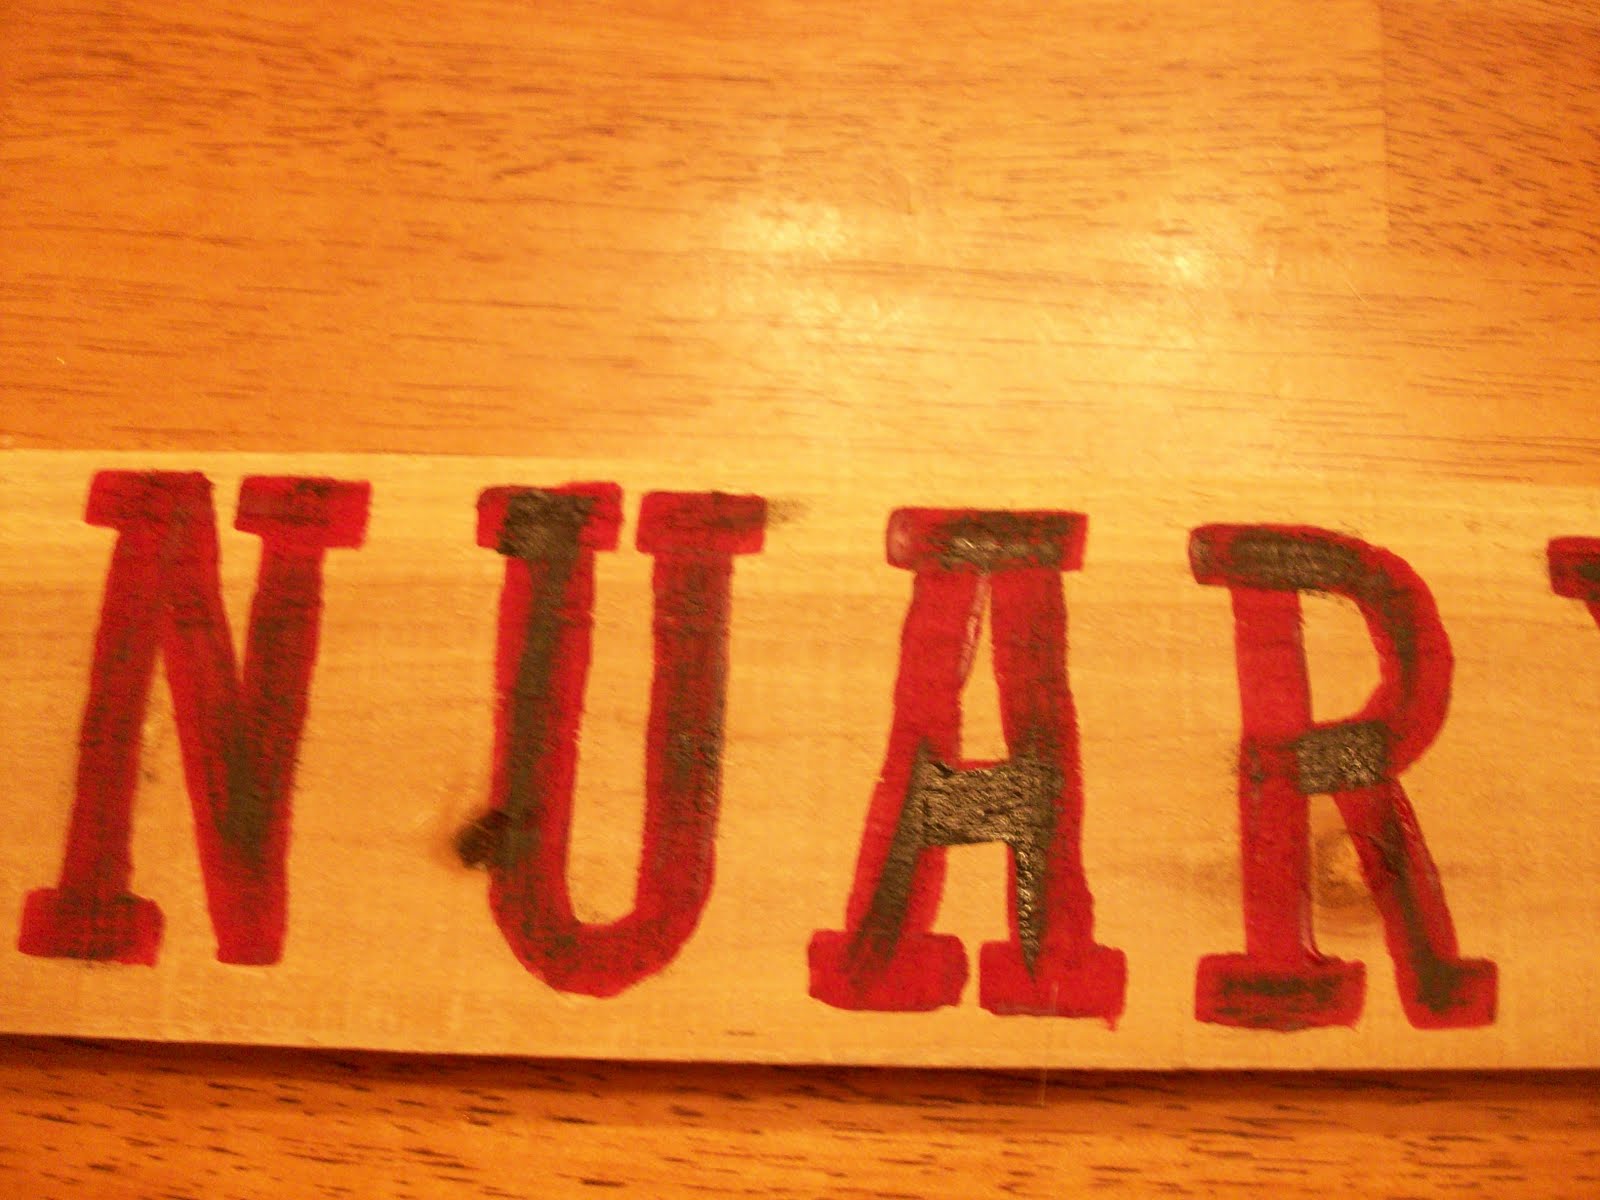
I used "Americana" brand acrylic paint from Hobby Lobby. This brand is only 99 cents so I love it. I am using a shade of red to match my bedroom. This is for the master suite at the Triple P. I just painted the letters using one of the many paint brushes in my combo pack of brushes I got at HL since I am not really an artist and have no idea about paint brushes or paint or wood or stencils or changing a flat tire or musical instruments or 4-wheel drive trucks or NOT burning bacon or wait a minute, where was I...


Next, I used some of the same brand of paint only in black and did some hodge podge painting over the letters to give it an older look.


Moving on to the sanding...once the paint was dry, I used a sheet of 150 sand paper and made circular motions all over the sign to distress it a bit more. Libby helped with this and she is one mean sander!


Then the staining! Used a rag to lightly stain the whole thing. I put more in some places then others and then rubbed it all around.


Now, if I can just get the husband to put some picture hangers on the back and get it on the wall!!!